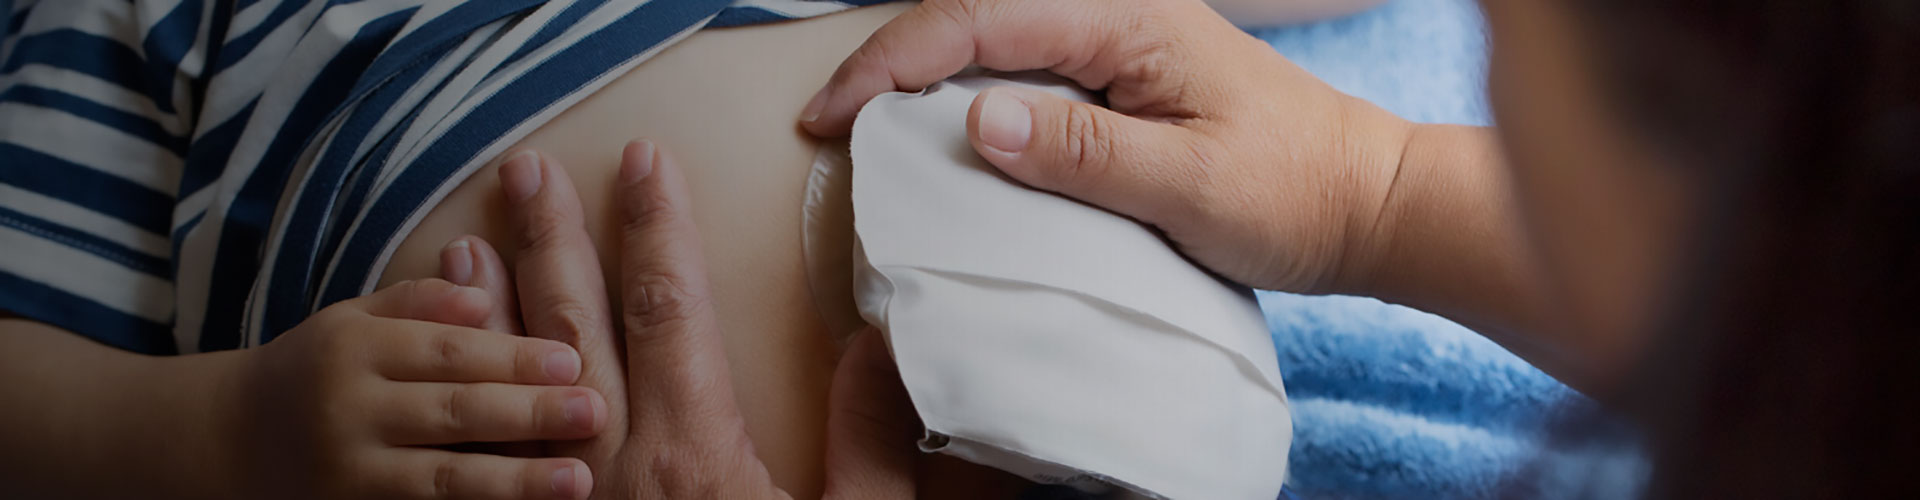
When should I change the pouch?
Until you get into a routine, it’s only natural to feel a little unsure about when and how to change your child’s pouch. Be assured, this process gets easier with time and practice.
The wear-time of your child’s ostomy product varies a lot, as it depends on your child’s size, activity level and the thickness of stool (if your child has an ileostomy or colostomy), it can therefore be difficult to establish the right time to change your child’s ostomy pouch. A good time to change a pouch is usually before a meal or several hours after eating, when the stoma is draining less. However, in order to find the best routine for your little one, you should consult your child’s Wound Ostomy Continence Nurse or Pediatric nurse about your child’s specific needs.
Do not wait for the ostomy product to leak. If your child feels burning, itching under the barrier or is picking at the barrier, change the pouching system immediately. Burning and itching could indicate leakage, and possible damage to the skin around the ostomy (irritation similar to diaper rash).
Routines are important
Establishing predictable routines for changing your child's ostomy pouching system are important. In order to get a good routine in place, you should plan a regular time to change the ostomy pouching system. The best time to change the ostomy pouching system is when the stoma is less active (before your child eats or drinks in the morning).
How should I change the ostomy pouching system?
Before you begin removing your child’s pouching system, it can be a good idea to make some simple preparations:
- Gather all supplies:
- Pouch and barrier (if using two-piece)
- Soft cloth (cotton ball or flannel and warm water)
- Ostomy measuring guide, pen and scissors
- Plastic bag for trash
- Pouching supporting products, if using (i.e. protective seal, adhesive remover)
Your child’s Wound Ostomy Continence Nurse or Pediatric nurse will help you decide if additional items will be needed.
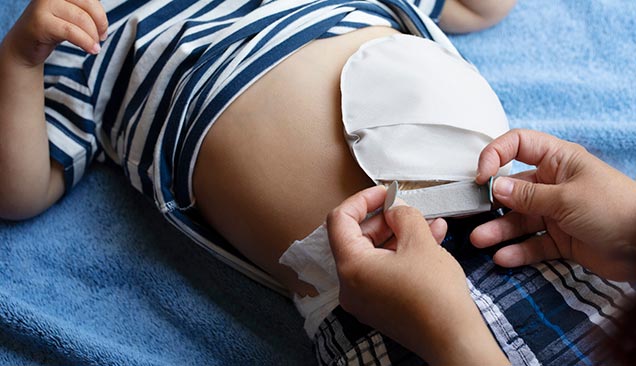
- Peel the pouch off in a smooth and gentle way. Accidentally tearing or ripping off the adhesive may injure the peristomal skin and affect the ability of the next pouching system to adhere to your child’s skin. Using a residue-free adhesive remover is recommended.
- Use the plastic bag to throw away the soiled pouch.
- Clean the stoma and the skin around it with a soft cloth and warm water. Do not be alarmed if you see slight bleeding from the stoma – this is normal and should stop quickly. Don't use soap, cleansers or moistened wipes as this may cause skin problems and keep the barrier from sticking. If you do, make sure you use a soap that is oil-and residue-free. Soaps containing moisturizers, oils and deodorants – as well as some brands of baby wipes containing lanolin – will leave a film on the skin that interferes with pouch adherence.
- Check the skin around your child’s stoma for any redness or irritation. Always check the stoma as well to make sure it maintains its natural red color. If you see a rash on the skin, if the stoma appears discolored (very dark, purple or black) or if you have other concerns, call your child’s Wound Ostomy Continence Nurse, doctor or healthcare provider. Do not apply moisturizer / lotion as this can inhibit adhesion of the barrier.
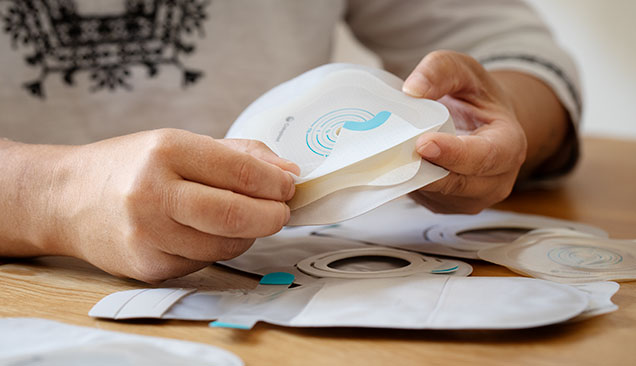
- Measure the diameter of the ostomy using the ostomy measuring guide.
- Trace the measurement onto the back of the barrier.
- Cut the opening to match the pattern. Measure to fit the same size as the stoma. This will help prevent stool from touching your child’s skin and causing irritation.
- If the ostomy becomes active, wait for it to take a break and then proceed. Re-cleanse the skin if it becomes wet or soiled.
- Remove the backing from the barrier. Ensure the skin is dry prior to barrier application.
- Apply the new barrier by centering the opening over the stoma. Gently press in place.
- Ensure tight contact between the skin and the barrier by using your hand to put light pressure over the barrier for two or three minutes.
- Close the pouch outlet.
- Wash your hands.
Tips & tricks
Consider asking your child if they would like to name their stoma. Many people do, and it can help your child adapt to life with an ostomy. Some children also have a doll that has an ostomy or put an ostomy pouch on a favorite doll or toy.
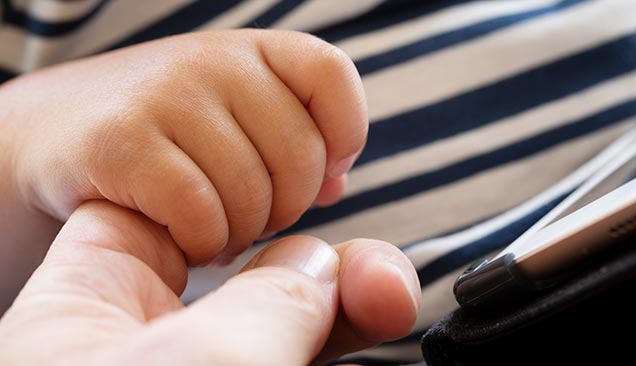
Distract your child when changing the pouch. Using a mobile, a toy with music or a stuffed animal to soothe can be helpful.
Pre-school and school-age: As your child grows, teach him/her simple tasks such as gathering supplies and warming the barrier. This will encourage acceptance and increase comfort and security with their pouching system.
This information is for educational purposes only. It is not intended to substitute for professional medical advice and should not be interpreted to contain treatment recommendations. You should rely on the healthcare professional who knows your child's individual history for personal medical advice and diagnosis.
Call your healthcare provider if you have any medical concerns about managing your child's ostomy. You may also contact a Coloplast Care Advisor for product usage and availability questions at 1-877-858-2656.